Create a wallet
To get started with NYBU, the first thing you'll need to do is set up a wallet that supports Binance Smart Chain (BSC). Wallets are available on both desktop computers and on smartphone devices. Examples of popular wallets include:
- Metamask
- BSC wallet
- Wallet connect
- Trust wallet
- Brave wallet
- Safepal
- and many others
To keep things short and simple, we will focus on the most popular desktop wallet called Metamask. We recommend you do some research about other wallets and see which one fits your needs.
Most of the steps in this guide can be applied to other wallet's setup. If you need extra help, refer to your chosen wallet's documentation.
Install Metamask
Head over to Metamask's download page. Follow the steps to install it on your browser.
Next, follow along with the setup specified by the app. Click on the option to "Create a Wallet" and copy the backup seed phrase in a secure location, preferably not on a device connected to the internet. It is crucial to keep this phrase safe since losing it may result in the inability to retrieve your funds if your device becomes damaged or misplaced. Finally, verify that you have written down the seed phrase on the following page.
- NEVER share your recovery phrases with anyone, under any circumstances.
- NEVER input your recovery phrase to a website or app, other than your wallet app.
- NYBU Devs will never ask you for your recovery phrase. Block or report anyone who tries to get the recovery phrase from you.
And that’s it! You should now see your wallet, ready to send and receive funds.
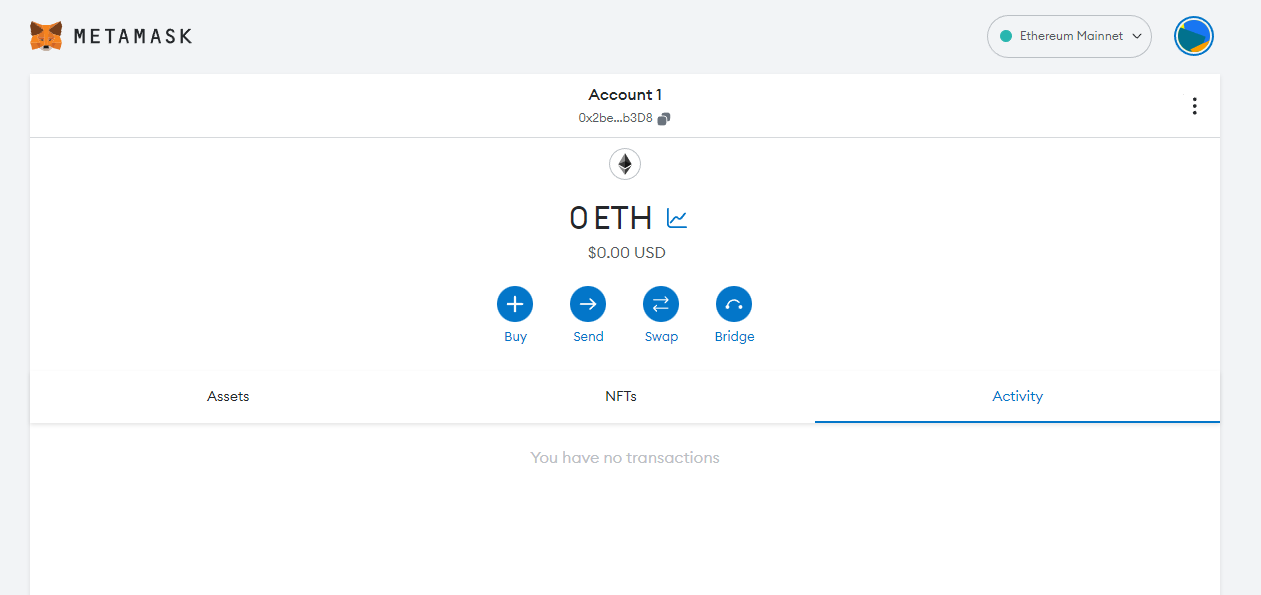
Add BSC network to your wallet
You might notice right away that we are still dealing with an Ethereum wallet. This will not be compatible with NYBU as we are running on BSC, not Ethereum. As such we have to point Metamask to use BSC instead of Ethereum.
Let's change that.
Click on Add network in the networks dropdown.
Click on Add a network manually at the end of the page.
Fill the fields you see with the corresponding information.
It is important to note that there are two networks we can use here: BSC Mainnet or BSC testnet. Below are the parameters to fill in for each. Add both of them.
For BSC Mainnet
- Network name: BSC Mainnet
- New RPC URL: https://bsc-dataseed.binance.org/
- ChainID: 56
- Currency symbol: BNB
- Block Explorer URL: https://bscscan.com
For BSC Testnet
- Network name: BSC Testnet
- New RPC URL: https://data-seed-prebsc-1-s1.binance.org:8545/
- ChainID: 97
- Currency symbol: tBNB
- Block Explorer URL: https://testnet.bscscan.com
Click Save.
When you are finished, you should see both newly added networks in the networks dropdown.
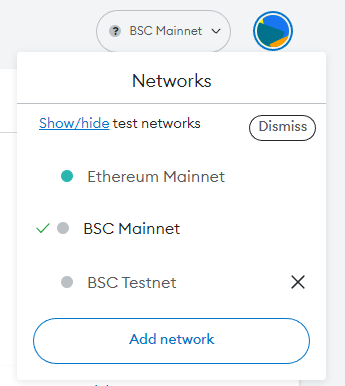
Wallet created !
Now that your wallet is created and connected to the network, you can start receving / sending funds on BSC and making transactions.